Ted Wang a master of none
Rich Text Editor - Implementation, Data Type and Storage

Have you ever wondered how to render a rich text on the front-end? Wait, what is a rich text? Well, a rich text is a text that contains bold, italic, headings, colors, quotes, emojis, and etc. Ok, but what do you mean by how to render them, aren’t they already in the front end? Not necessarily. What if the text is dynamically stored in database? For example, when using Google Doc, user can input their own text, and add styling dynamically. The input texts are stored and can be reaccessed the next time user query them. But how do you store rich text in database?
Those are all questions that I had before starting my research. Fortunately, just like all other tech related questions, stack overflow is there to help. And just like all other feature, we don’t need to design a rich text editor from scratch, there are existing package that we can use. After some investigation, I decided to use draft-js (thanks Facebook, oh I mean Meta) for my implementation.
Draft-js
To install draft-js package, simply follow the installation guide in their official documentation. Ok if you are super lazy and don’t want to open the link, just run:
npm install draft-js react react-dom
or
yarn add draft-js react react-dom
Simple implementation
The simplest implementation is a blank text area where you can input the string. No styling added yet.
import {Editor, EditorState} from 'draft-js';

const RichTextEditor = () => {
    const [editorState, setEditorState] = useState(EditorState.createEmpty());

    return (
        <Editor editorState={editorState} onChange={setEditorState} />
    )
}
Now, if we want to add styling button to our rich text editor, we
can use RichUtils in draft-js package to set up inline and block
style. For example, if we want to add italic to our text, we need to
pass in EditorState, and add the italic tag to it.
import {Editor, EditorState} from 'draft-js';

const RichTextEditor = () => {
    const [editorState, setEditorState] = useState(EditorState.createEmpty());

    const setItalic = () => {
        setEditorState(RichUtils.toggleInlineStyle(editorState, "ITALIC"));
    }

    return (
        <button type="button" onClick={setItalic}> italic </button>
        <Editor editorState={editorState} onChange={setEditorState} />
    )
}
Alright, now when we click on italic button, the text will be set to italic.
The same process can be done for other inline styles such as bold, underscore, etc.
For block style, we also use the similar method, only change RichUtils.toggleInlineStyle()
to RichUtils.toggleBlockStyle().
The above gives you the freedom to customize everything including the editor
text box, toolbar, buttons, background etc. But if you don’t want to
customize all these, there is another package that provides you with all of
those ready for you, react-draft-wysiwyg. The only thing you need to
change is importing Editor from react-draft-wysiwyg instead of draft-js.
import { EditorState} from 'draft-js';
import { Editor } from 'react-draft-wysiwyg';

const RichTextEditor = () => {
    const [editorState, setEditorState] = useState(EditorState.createEmpty());

    return (
        <Editor editorState={editorState} onChange={setEditorState} />
    )
}
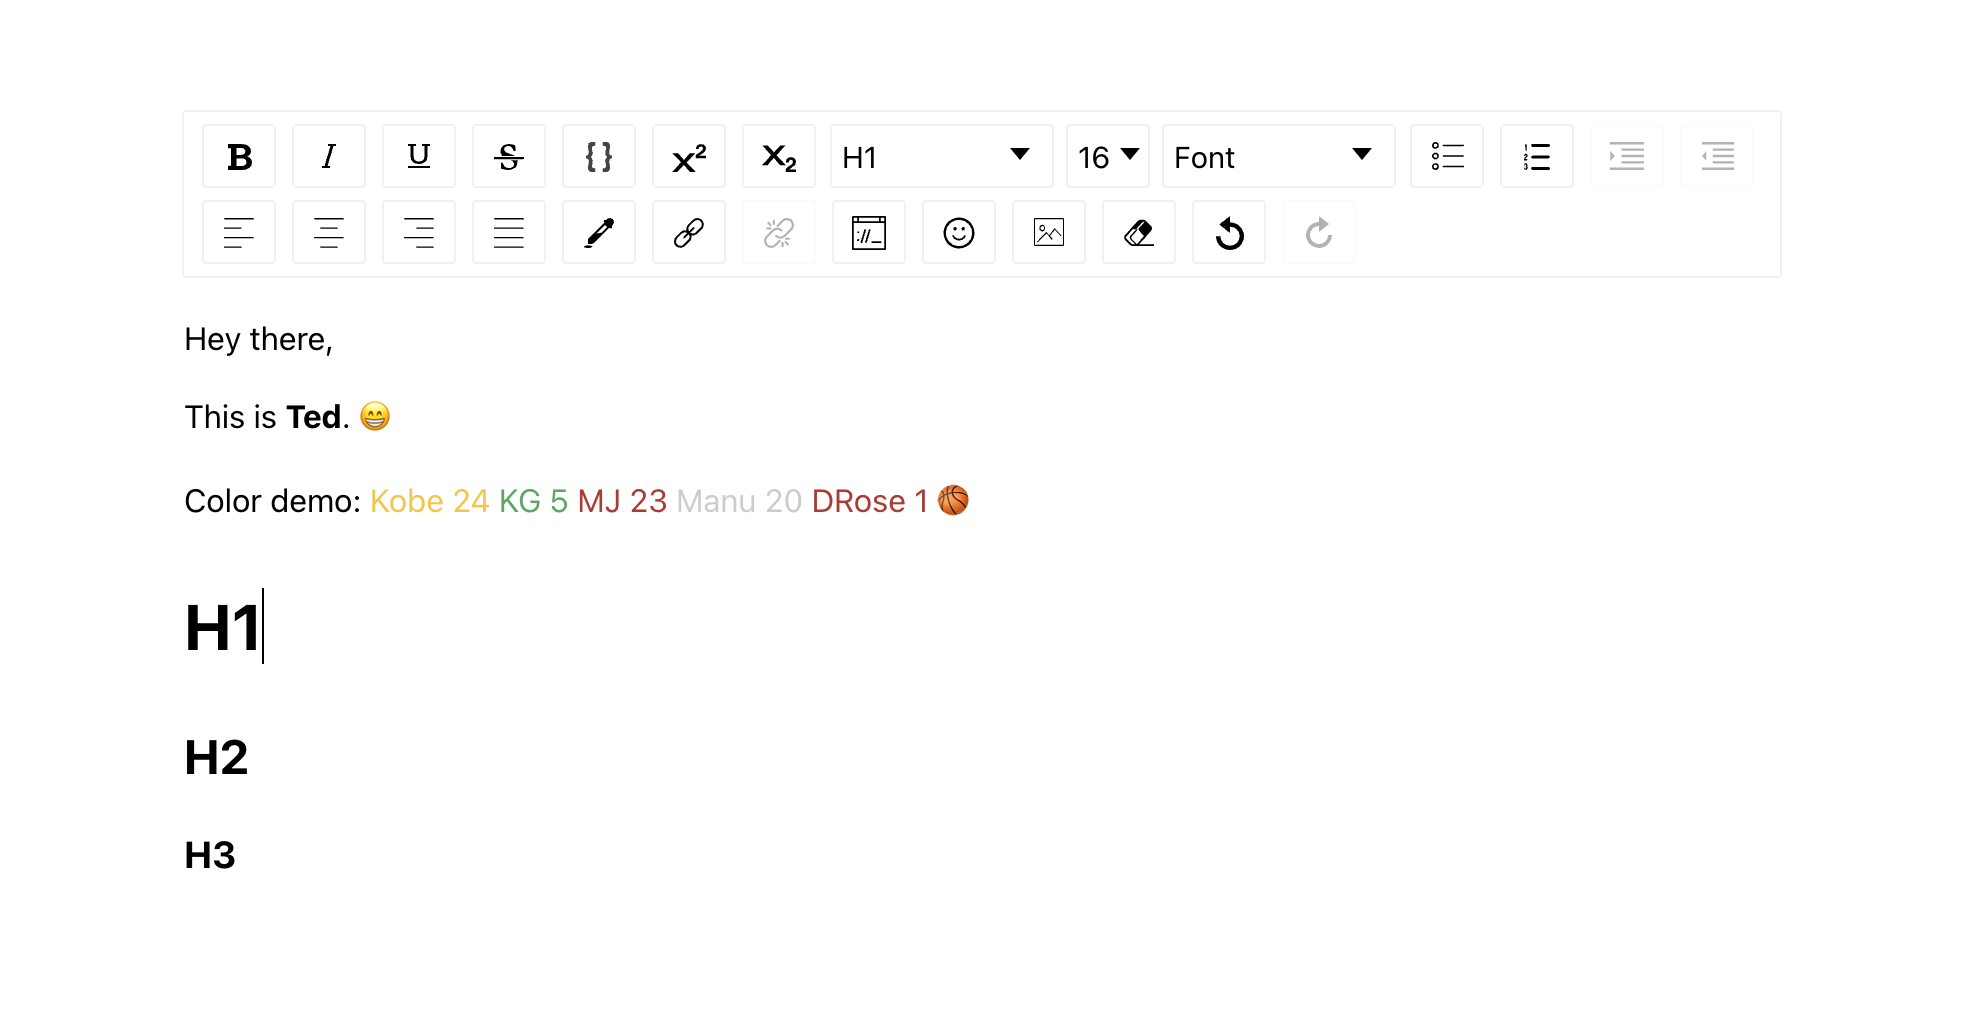
No additional buttons and styling methods needed. Here is a demo of my rich text editor:
Data Type and Storage
Everything up to now is pretty trivial and you can find a lot of documentations on that. However, there exists few documentation on how the rich texts are being represented and stored in database.
Actually, the rich text is an object and can be serialized to a json. We can apply
the convertToRaw function provided by draft-js to the ContentState. The way to
do this is:
contentJson = convertToRaw(editorState.getCurrentContent())
The json that we obtained can be saved in our database. We can serialize it and save it as a blob or string, or if you wish, you can also save it as a json type. How does the json look like? Let me show you the json of one example:
{
  "entityMap":{},
  "blockMap":{
    "4bdmg":{
      "key":"4bdmg",
      "type":"unstyled",
      "text":"Hey there, Ted here.",
      "characterList": [
        {"style":[],"entity":null},
        {"style":[],"entity":null},
        {"style":[],"entity":null},
        {"style":[],"entity":null},
        {"style":[],"entity":null},
        {"style":[],"entity":null},
        {"style":[],"entity":null},
        {"style":[],"entity":null},
        {"style":[],"entity":null}],
      "depth":0,
      "data":{"text-align":"start"}
    }
  },
  "selectionBefore":{
    "anchorKey":"4bdmg",
    "anchorOffset":2,
    "focusKey":"4bdmg",
    "focusOffset":2,
    "isBackward":false,
    "hasFocus":true
  },
  "selectionAfter":{
    "anchorKey":"4bdmg",
    "anchorOffset":9,
    "focusKey":"4bdmg",
    "focusOffset":9,
    "isBackward":false,
    "hasFocus":true
  }
}
This json is serialized and stored in the database. Now, when we query this
data, we get the raw json as a string, we need to deserialize the string and
reconstruct the ContentState and EditorState object. Let’s use the createWithContent()
method.
editorState = createWithContent(JSON.parse(queried_json))
Now, the editorState will content the json object that we got from our database. And we can apply operations to it again.
So yea, this is pretty much how to quickly implement a rich text editor and test it. That’s something new that I came across recently. I just wanted to share some new and interesting stuffs that I learned. Peace!
Written on November 1st , 2021 by Ted Wang